How to make pure ghee at home

Mail This Article
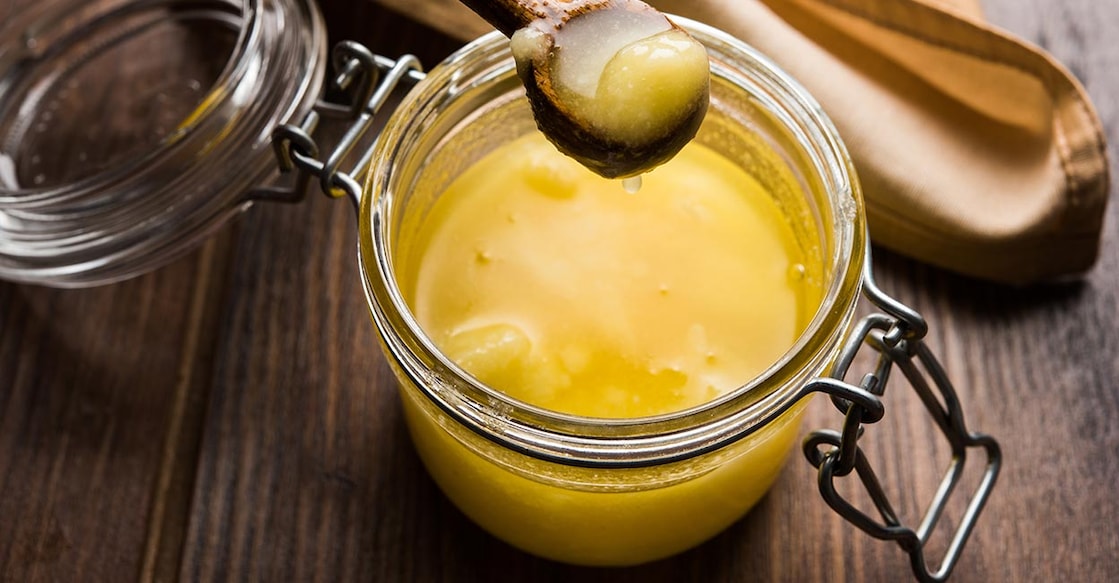
Homemade ghee, also known as clarified butter, is a traditional cooking fat widely used in Indian cuisine and beyond. It's made by heating butter to separate the milk solids and water from the pure butterfat, resulting in a golden, flavourful liquid with a high smoke point and a rich, nutty taste. Making ghee at home is simple and allows you to control the quality of ingredients used.
During the clarification process, the milk solids and water are removed from the butter, making ghee suitable for individuals with lactose intolerance or milk protein allergies. Ghee contains negligible amounts of lactose and casein, making it a safer alternative for those with dairy sensitivities.

Ingredients
Unsalted butter (preferably grass-fed for richer flavour, churned at home if possible)
Preparation
Cut the unsalted butter into cubes to help it melt more evenly
Place the butter cubes in a heavy-bottomed saucepan or a deep skillet
Heat the butter over medium-low flame until it melts completely
Once the butter has melted, reduce the heat to low to maintain a gentle simmer
Allow the butter to continue simmering uncovered
As the butter simmers, it will start to foam on the surface
This foam consists of milk solids and water separating from the butterfat
Skim off the foam using a spoon or ladle to reveal the clear golden liquid underneath
Allow the butter to simmer gently, without stirring, for approximately 20-30 minutes
During this time, the water content will evaporate, and the milk solids will gradually brown at the bottom of the pan
As the ghee cooks, it will develop a rich golden colour and a nutty aroma
Keep a close eye on the ghee to prevent it from burning
The milk solids at the bottom of the pan should turn golden brown, but be careful not to let them darken too much
Once the ghee has reached the desired colour and aroma, remove the saucepan from the heat and let it cool slightly
Place a fine mesh strainer or cheesecloth over a clean, dry glass jar or container
Carefully pour the ghee through the strainer to filter out the browned milk solids
Allow the strained ghee to cool to room temperature before sealing the jar with a tight-fitting lid
Store the homemade ghee at room temperature or in the refrigerator for a longer shelf life. It will solidify as it cools but will soften again when warmed.

Things to note:
- Use high-quality unsalted butter for the best flavour.
- Keep an eye on the ghee while it simmers to prevent burning.
- Ensure that the container used for storing the ghee is clean and dry to prevent contamination.
- Homemade ghee can be used for cooking, baking, and frying, adding a rich, nutty flavour to dishes. Enjoy your homemade ghee!

